
Why You Need to Know This
Electrical work intimidates people, and honestly? That's healthy caution. You're dealing with live current that can hurt you. But here's the thing — replacing a switch or socket cover isn't complicated if you follow the right steps. It's actually one of the safest electrical jobs you can do at home because you're not installing new circuits or rewiring anything. You're just swapping out a cover or a switch itself.
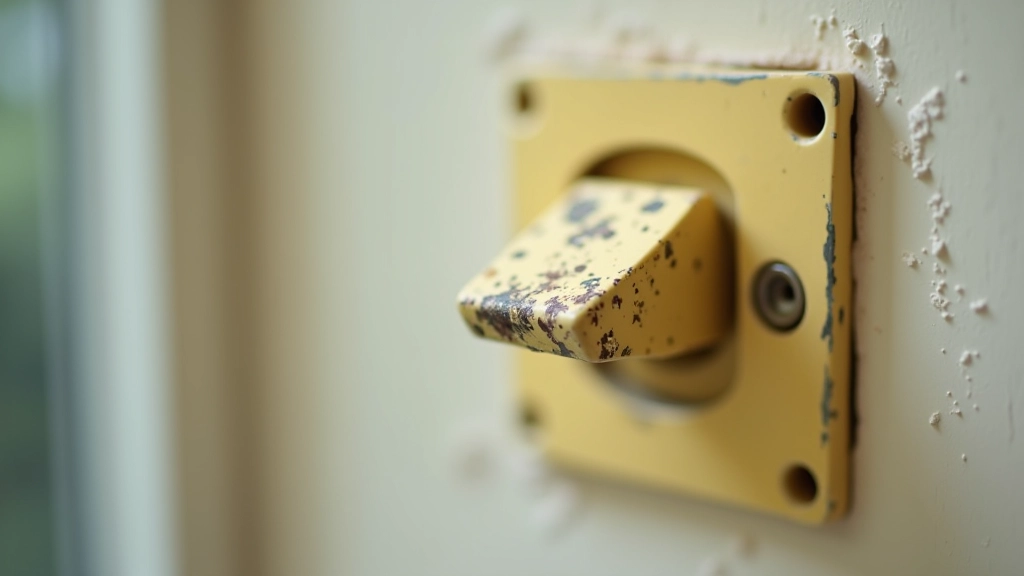
Most of us live in homes with aging switches and sockets. Some have yellowed covers. Others don't sit flush anymore. Maybe yours are damaged from kids pulling on them or from years of light switches being flicked on and off thousands of times. Replacing them takes maybe 15 minutes per switch — if you're taking your time. The key is isolation. You've got to cut power to what you're working on. That's literally 90% of the safety.

Understanding Your Electrical Setup
Before you touch anything, you need to understand what's actually happening at that switch or socket. Behind every switch and socket cover is a switch or socket — the actual electrical device. That device is wired into your house's electrical system. Current flows through it constantly (when you've got power to that circuit). Your job is turning that current off before you start work.
In Irish homes, you'll find two main types of installations. Older properties often have rewireable fuse boxes — sometimes called consumer units or fuse boards. Newer ones have circuit breakers. Both do the same job: they cut power to specific circuits when you flip the switch or press the button. That's what you're doing when you isolate a circuit. You're flipping the right switch to kill power to that one outlet or light switch.
Here's what matters: You've got to identify which circuit controls which switch or socket. Most people don't label their fuse boxes or circuit boards properly. It's annoying but essential. If you don't know which breaker controls what, you'll be guessing. And you don't want to guess when you're working with electricity.
Important: This guide is educational and informational only. Electrical work carries risks. Always follow your local building regulations and safety standards. If you're uncertain about any step, contact a qualified electrician. Never work on live circuits.
The Isolation Process — Getting It Right
Isolation is simple. You're turning off power to the circuit you're working on. Here's the process that actually works.
Turn off the right circuit
Go to your fuse box or circuit board. If you don't know which circuit controls your target switch, turn off lights or check outlets in that room. Flip the breaker switch until the light goes out or the socket stops working. Mark that breaker with tape — you'll use it in a minute.
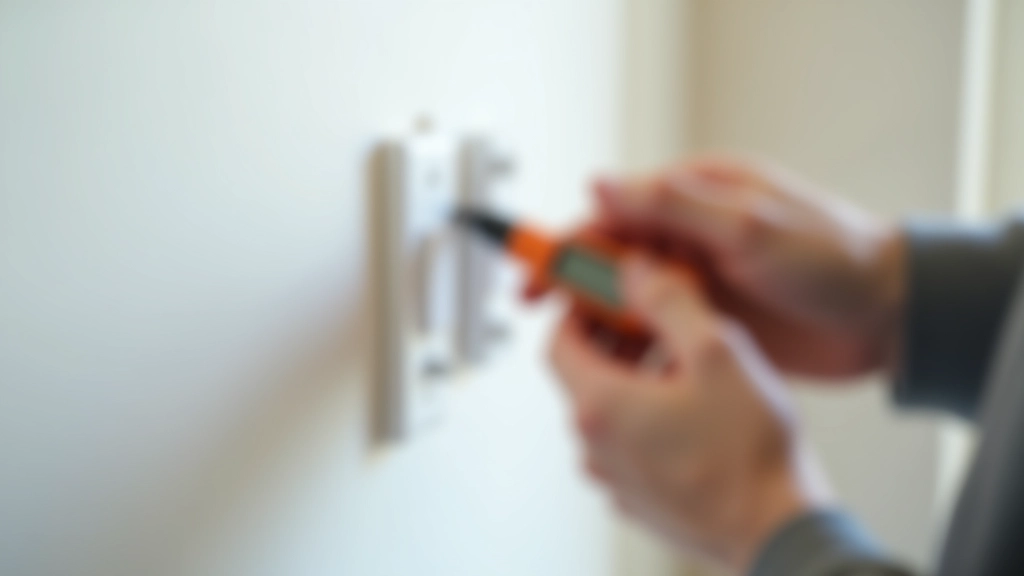
Test for power
This is non-negotiable. Use a socket tester or voltage tester on the outlet or switch. You're checking that power is actually off. If it still shows power, you've turned off the wrong circuit. Keep flipping breakers until the tester shows zero power. Don't skip this step. Ever.
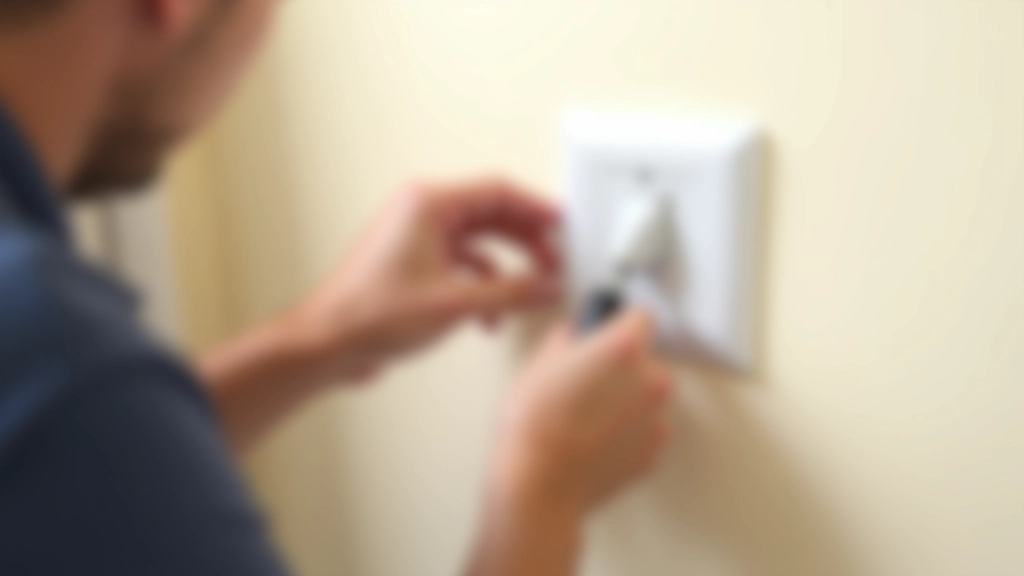
Remove the old cover
Unscrew the screws holding the cover plate. There's usually one or two. Keep them somewhere safe — you might reuse them if they're not damaged. Gently pull the cover away. Don't force it if it's stuck. Sometimes covers glue themselves on over years of paint and dust.

Installing the New Cover or Switch
Once the old cover is off, you've got two paths. If you're just replacing the cover plate (the easiest job), you'll simply position the new one and screw it in. Align it with the switch or socket box, then use the provided screws. Tighten them gently — you don't want to crack plastic by overtightening.
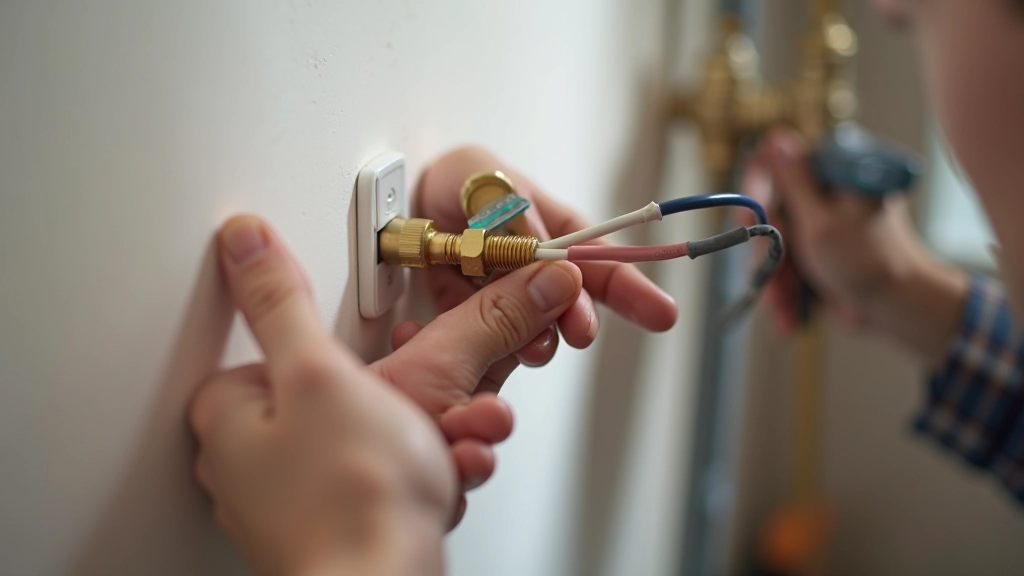
If you're replacing the actual switch, it's slightly more involved. You'll see two wires connected to the old switch — usually brass screws holding them. Write down which wire connects where (take a photo with your phone if you're worried). Loosen those screws and remove the wires. Then connect the new switch exactly the same way. Brass screw to brass screw. Black wire (live) typically goes to brass. The other wire (usually red or blue) goes to the other terminal. Don't mix them up.
Tighten those screws firmly — the wires shouldn't pull out when you tug them gently. Then carefully push the switch back into the box. Don't force it. If the wires are bunching up, loosen the screws slightly, straighten them out, retighten. Only then screw the cover plate on.
What Can Go Wrong (And How to Avoid It)
Most problems happen because people skip steps. They don't test for power. They mix up wires. They overtighten screws and crack the switch housing. Or they turn the power back on before testing the new switch.
Here's what we see most often: Someone installs a new switch, turns power back on, and the switch doesn't work. Usually, the wires aren't seated properly in the terminals. Or they're reversed. Turn the power back off, check your connections, and try again.
Another common issue: Cover plates don't sit flush because the switch box itself is protruding. This happens in older homes where boxes get pushed out over time. You can buy raised or adjustable cover plates to accommodate this. Don't force a standard cover plate onto a protruding box — you'll crack it.
The golden rule? If something doesn't feel right or look right, stop. Call someone who does this professionally. It's not worth an electrical fire or a trip to hospital.
Finishing Up and Testing
Once everything's installed and the cover plate is screwed on, you're ready to restore power. Go back to your fuse box or circuit board. Flip the breaker back to the "on" position. Listen for any buzzing or smell anything odd. You shouldn't.
Test your new switch or socket. If it's a switch, turn it on and off a few times. The light should respond normally. If it's a socket, plug in a lamp or phone charger and make sure it works. Use your voltage tester one more time on the socket to confirm power is actually reaching it.
If everything works and looks normal, you're done. You've just successfully replaced a switch or socket cover. That's a genuine home maintenance skill. It's one less thing you'll need to pay someone else to do.
Keep your old screws if they're in good condition. Keep notes about which circuit controls which outlet — label your fuse box properly so next time you'll know immediately. And if you ever feel uncertain about anything electrical, that's your sign to call a professional. There's no shame in it. Electricity is genuinely dangerous if you don't know what you're doing.