Wall Prep and Repainting: Getting It Right
Filling cracks properly and preparing surfaces for paint. Most people skip prep work — don't. This makes the difference between amateur and professional results.

Why Prep Work Actually Matters
You can't just slap paint on a wall and expect it to look professional. That's the honest truth. Preparation is where the real work happens — and it's where most DIY painters go wrong.
When you skip proper prep, you're setting yourself up for peeling paint, uneven coverage, and a finish that'll look tired in a few months. We're talking about filling cracks properly, sanding surfaces smooth, and cleaning off dust and old paint. It's not glamorous work, but it's what separates decent results from "yeah, I did that myself" results.
The good news? It's not complicated. You don't need fancy equipment or years of experience. You just need to understand the right steps and follow them. Let's walk through what actually works.
Before You Start
This guide is educational and informational. It covers standard home maintenance practices. Always follow manufacturer instructions on paint, fillers, and tools you're using. If you're uncertain about structural issues with your walls or have concerns about asbestos in older homes, consult a qualified professional. Safety first — that's the rule we follow on every project.
Assessing Your Wall Condition
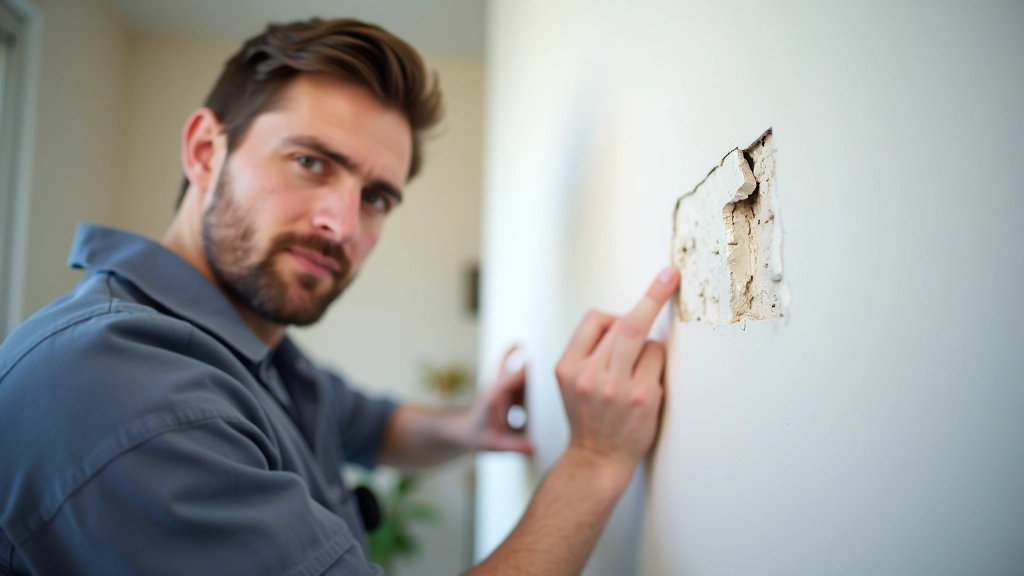
Before you buy filler or paint, you've got to know what you're working with. Walk around your room and actually look at the walls. We're looking for cracks, holes, loose paint, and rough spots.
Small cracks — the kind you can barely feel with your fingernail — those are your priority. They'll show through paint if you don't fill them. Holes from picture hooks or old fixtures need filling too. And if there's paint peeling or flaking, that's got to come off. You can't paint over loose paint and expect it to stay.
Run your hand along the wall surface. You'll feel bumps, rough spots, and uneven patches. This is what sanding addresses later. The key here is just being honest about what you've got. A quick visual and tactile inspection takes 5 minutes and saves you hours of redoing work later.
What to check:
- Fine cracks in drywall or plaster
- Holes from nails, hooks, or fixtures
- Peeling or bubbling paint
- Water stains or moisture marks
- Rough texture or uneven surfaces
- Glossy patches (old paint with shine)
Filling Cracks and Holes: The Right Way
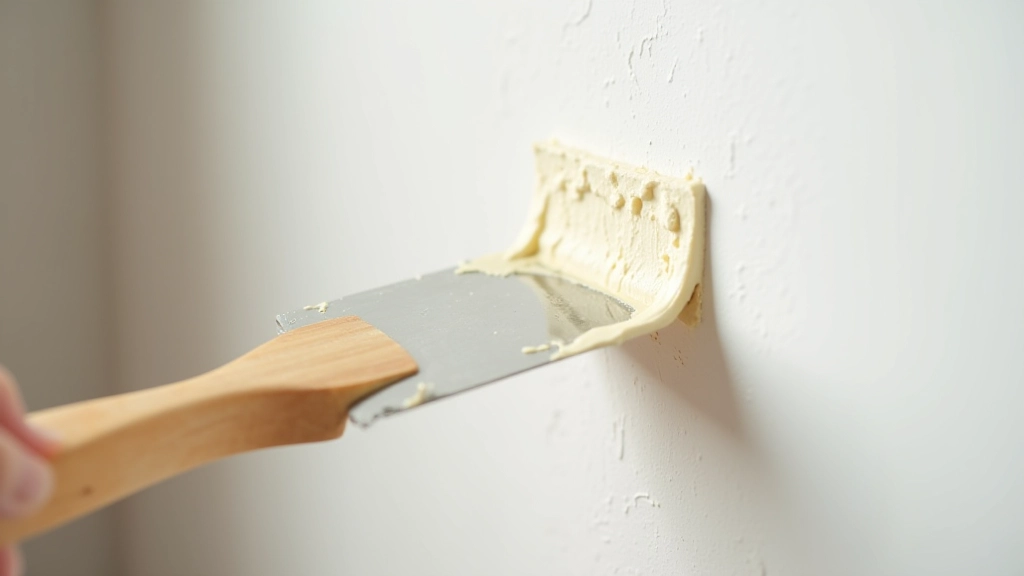
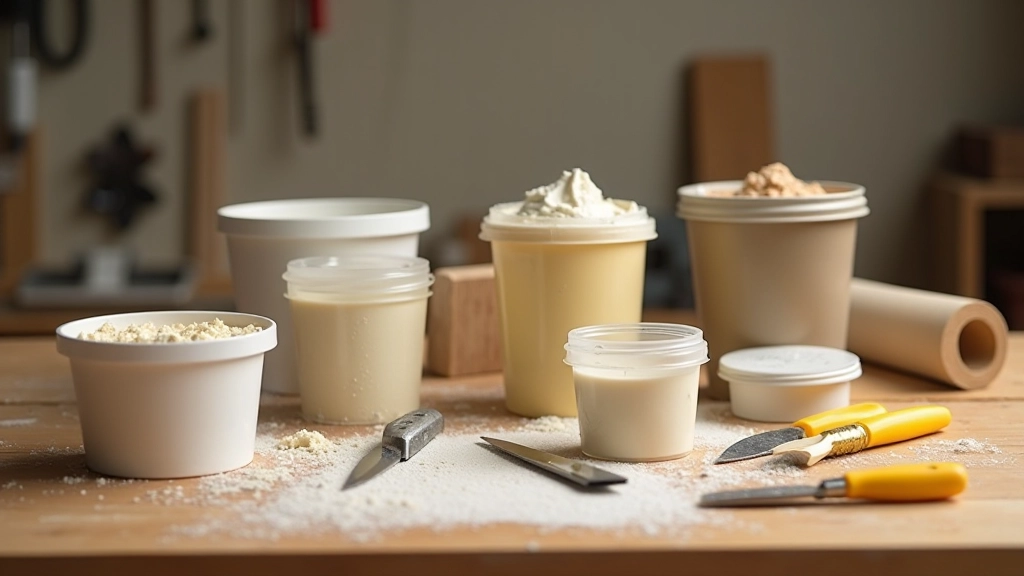
You'll need spackling compound for small holes and lightweight filler for cracks. These aren't the same thing, and it matters which you use where.
For nail holes and small imperfections — we're talking less than 1cm across — spackling compound is your friend. It's quick-drying and easy to sand smooth. Just apply it with a putty knife, overfill slightly, then sand it flush once it's dry. Takes about 2-3 hours to fully cure.
For larger cracks and gouges, you'll want lightweight joint compound (also called drywall compound). It's stronger and better for repairs bigger than 1cm. Apply it in thin layers — don't try to fill a deep crack in one go. Let each layer dry, then add another. This prevents shrinking and cracking in the filler itself.
The technique is straightforward: use your putty knife to press the filler into the crack or hole, then smooth it level with the wall surface. Slightly overfill it because everything shrinks a bit as it dries. Once dry, sand it smooth and you're ready for primer.
Sanding and Surface Preparation
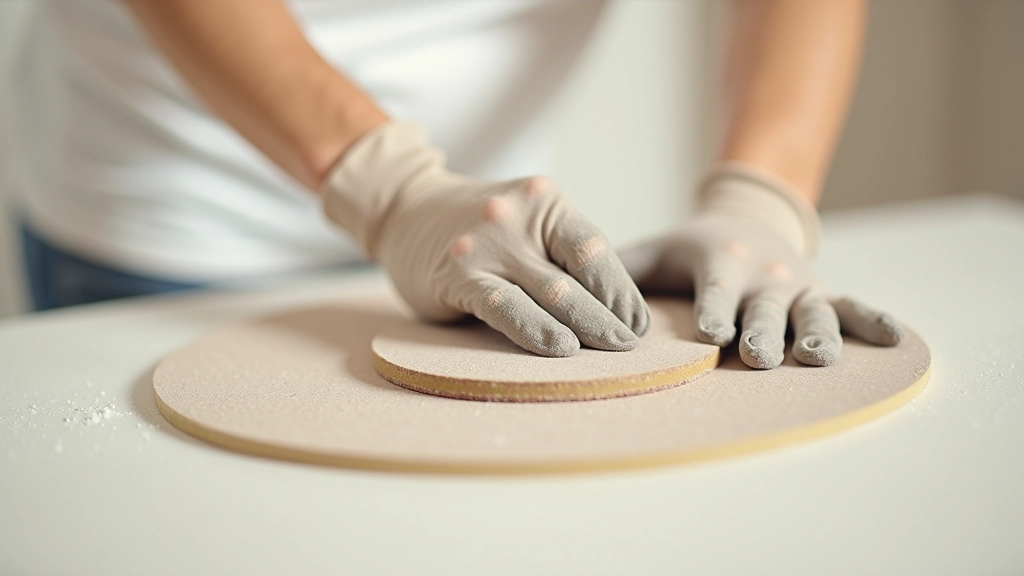
Once your filler is dry, sanding is next. This is where you smooth out any rough spots, bumps, and uneven areas. Don't skip this step — it's what makes the difference between looking amateur and looking professional.
Use medium-grit sandpaper (120-150 grit) for filled areas and rough spots. For general wall smoothing, 180-220 grit works well. Sand gently in circular motions — you're not trying to reshape the wall, just smooth it. You'll create dust, so wear a dust mask and consider opening windows.
After sanding, wipe down the entire wall with a damp cloth or tack cloth (a special sticky cloth for dust removal). This removes all the dust so your primer and paint adhere properly. Let it dry completely before moving to primer.
Sand filled areas smooth with 120-150 grit
Sand entire wall with 180-220 grit for even finish
Wipe down with damp cloth to remove all dust
Allow to dry completely before primer
Primer: Why It's Not Optional
Here's where people cut corners, and it costs them later. Primer is essential. It's not just "paint that goes underneath." It seals your surface and ensures your actual paint adheres properly and looks even.
Use a quality primer designed for walls. It covers filled areas better, provides better adhesion on glossy surfaces, and helps your paint look consistent. A single coat is usually enough, but if you've got stains or significant color changes, two coats work better.
Apply primer the same way you'll apply paint — with a roller for large areas and a brush for edges and corners. Let it dry completely (usually 2-4 hours depending on humidity) before your finish coat. Skipping primer or rushing it is why paint fails prematurely.
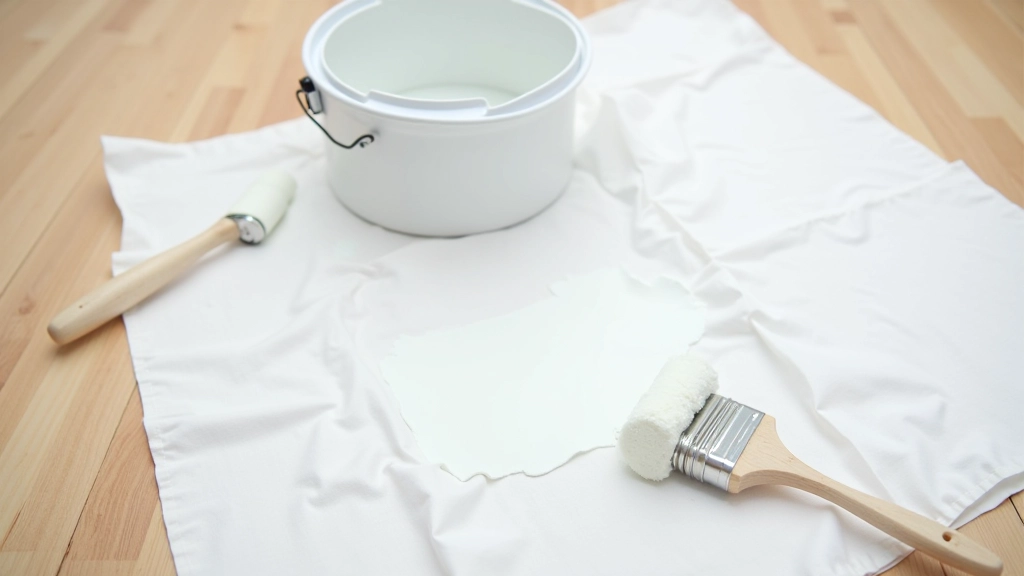
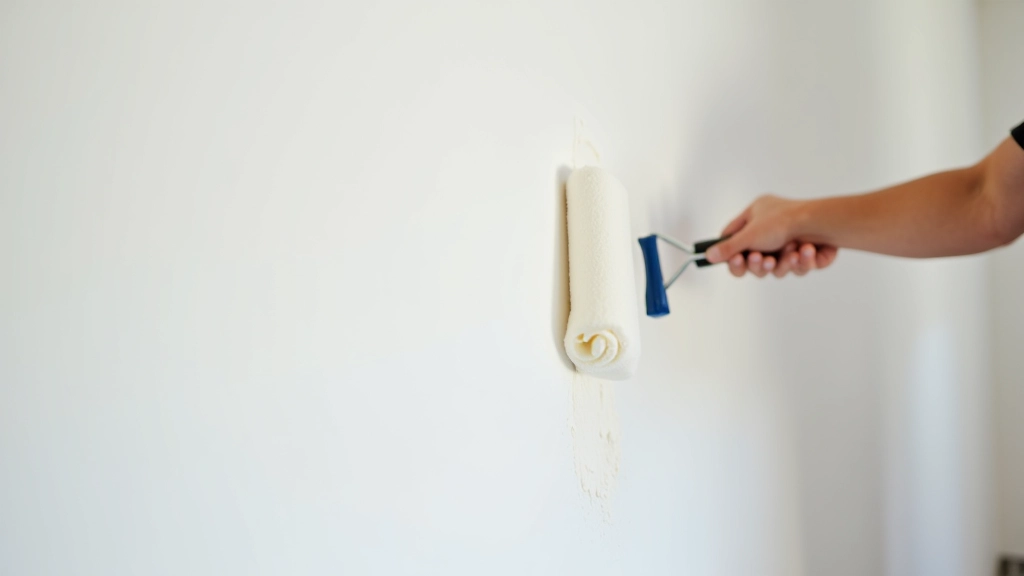
Paint Application and Finishing
You've done the hard work. Now comes the payoff. With a properly prepared surface, painting is straightforward. Use a quality paint appropriate for walls — not cheap budget paint that'll fade and look chalky in a year.
Apply your first coat with a roller, using long, overlapping strokes. Don't press too hard — let the roller do the work. Cut in edges with a brush before rolling the main area. One coat often isn't enough for good coverage, so plan for two coats. Let the first dry completely before the second.
The difference between okay results and great results comes down to this: proper prep work, quality materials, and patience between coats. That's genuinely it. No shortcuts, no tricks. Just the fundamentals done properly.
Pro tip: Don't try to paint in poor lighting. You'll miss uneven areas and end up with visible lap marks. Good daylight or bright work lights make a real difference.

The Results Speak for Themselves
When you prep properly, your paint finish looks professional. That's not luck — that's the result of doing things right from the start. Cracks filled, surfaces sanded smooth, primer applied, paint finished correctly. Each step builds on the previous one.
It takes longer than rushing it, but you'll be genuinely proud of the result. And more importantly, your walls will look great for years, not months. That's the difference proper preparation makes.
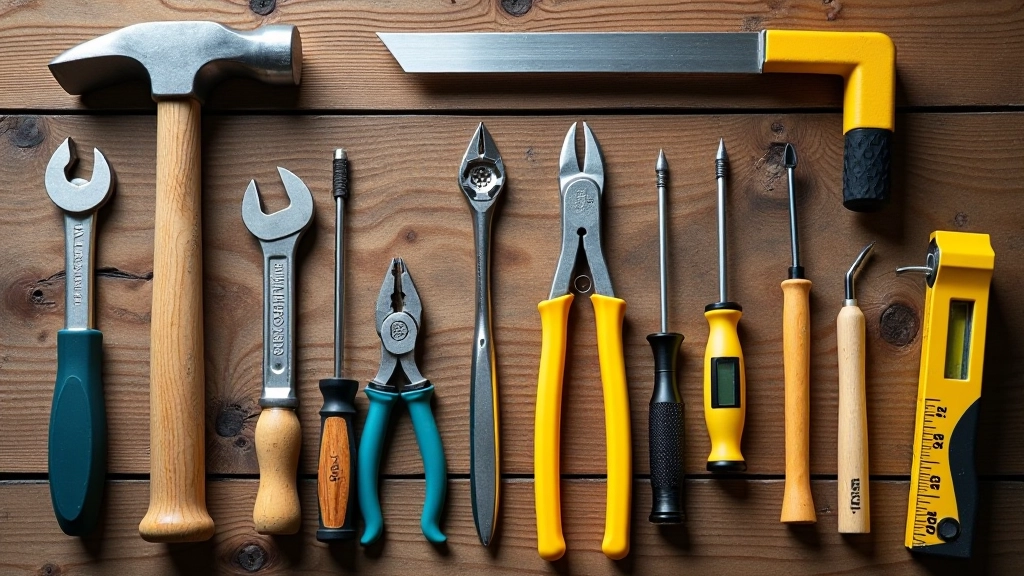
Ready to tackle other home maintenance projects? Check out our guides on basic plumbing repairs, electrical safety, and building a complete home toolkit. Every skill you develop makes the next project easier.